Ingredient Homemade Wood Floor Polish Recipe
You only need household ingredients to make your own Homemade Wood Floor Polish. This solution is a safe and effective way to clean and restore shine to dull and aging wood floors.
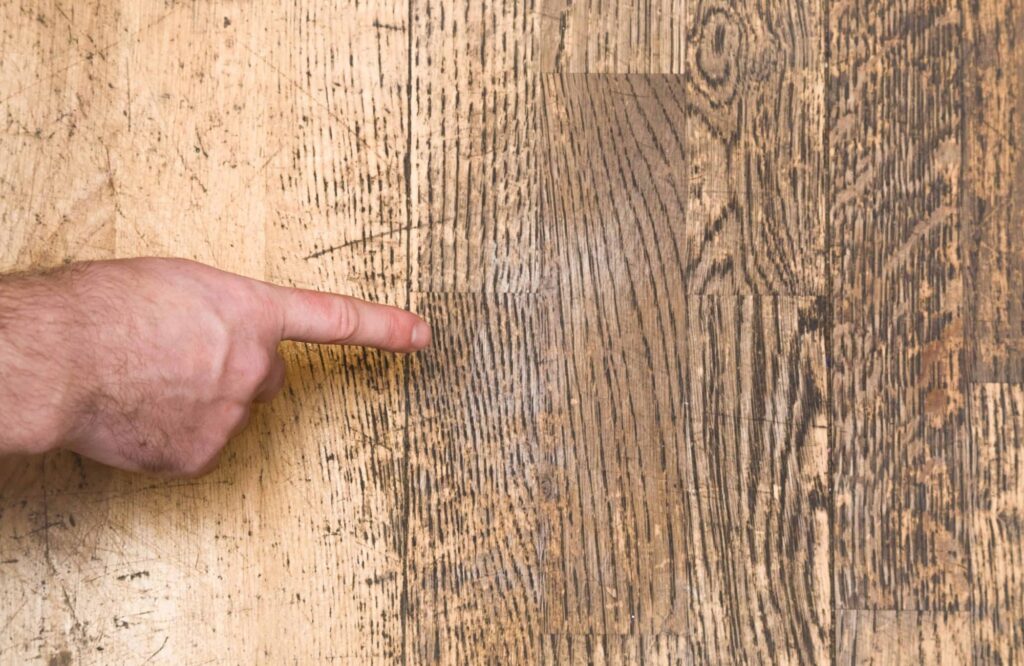
Cleaning wood floors must be done with a little extra care than cleaning tile and linoleum. Cleaners with harsh chemicals can strip wood floors, leaving them dry and brittle. Cleaning wood floors with water can be done, but you must take great care in making sure that no water is left behind on your floors, or they could warp. The same can be said for wood laminate floors as well. Harsh chemical cleaners can cause laminate to discolor and can even wear away the top layer of the laminate. Water can cause warping and buckling in laminate floors too. You can easily and inexpensively make your own wood floor cleaner/polish using a few items from your kitchen pantry, and get those floors looking like new again!
WHAT’S IN HOMEMADE WOOD FLOOR POLISH?
2 tablespoons of olive oil
1 tablespoon of distilled white vinegar
15 drops of lemongrass essential oil ( optional for fragrance )
2 cups of warm water
HOW DO YOU MAKE YOUR OWN WOOD FLOOR CLEANER?
Add 2 tablespoons of olive oil to a clean squirt bottle. I used an old floor cleaner bottle that I washed thoroughly.
Add 1 tablespoon of distilled white vinegar.
Add 15 drops of lemongrass essential oil. This step is completely optional. I like to add the lemongrass oil for fragrance. You could alternatively use lemon or orange essential oil or completely skip this step.
Finish it off by adding 2 cups of warm water.
Shake well before each use. Because there are no harsh chemical binders in this floor cleaner/polish, the ingredients will separate between uses. Just give it a good shake before each use and it will work perfectly.
Difference Between Luxury Vinyl Plank and Laminate Flooring
Laminate flooring is a type of flooring that simulates wood (or occasionally stone) on a much cheaper budget. Created from multiple layers of synthetic materials that are laminated together, this creates a great aesthetic while having several practical advantages as well.
Meanwhile, luxury vinyl flooring is another synthetic flooring option that mimics many of the best qualities of hardwood and tile. However, there are some differences between Luxury Vinyl Plank and Laminate Flooring, which may make one more suited for your own purposes. Read on to learn which is right for you, and where the differences lie.
Difference Between Luxury Vinyl Plank and Laminate Flooring
So, what is the difference between these two synthetic options? The biggest difference is that vinyl flooring is water-resistant. This means that you can use it in the kitchen or bathroom, and you won’t need to worry as much should you spill water on it (this can cause laminate flooring to come apart and warp).
Vinyl also tends to have felt back, which means that it feels particularly soft and quiet underfoot. This is something a lot of people like about it, and it’s another advantage that it has over stone or wood!
Why Choose Laminate or Vinyl Flooring?
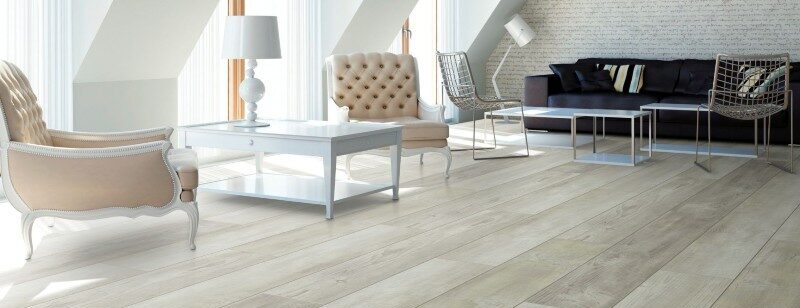
Wood or stone flooring has the advantage of making a space look light, natural and timeless. These are great choices if you’re looking to increase the resale value of your home, or just if you find your carpet is starting to look a little untidy and claustrophobic.
What Is Laminate Flooring And How To Use Them In Interior Design
If you’ve been thinking about renovating your home and searching a few websites, you’ve probably come across the term laminate flooring somewhere. It’s a trend that’s recently that’s been catching on like wildfire and for a good reason. Laminate flooring isn’t just a single thing, with a variety of styles and types.
What is Laminate Flooring?
Laminate flooring is essentially gluing together several different layers of synthetic materials through a process called lamination. This provides a result that gives you the look of any material that you want, like wood, but without the exorbitant price of the material, whilst giving you durability and also reducing the strain you put on natural resources.
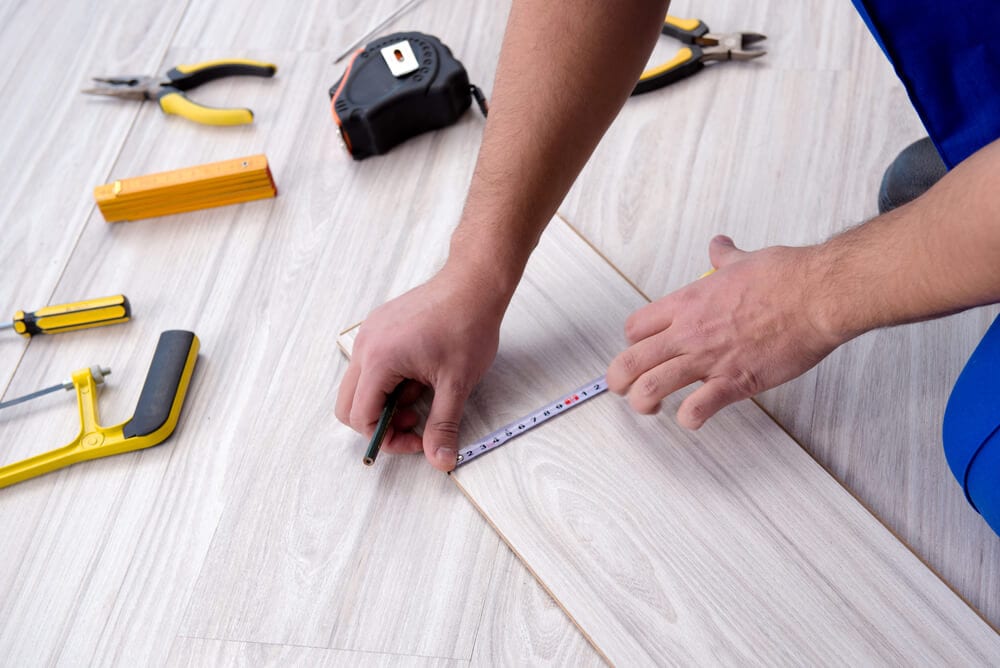
Glueless Laminate Flooring
As the name suggests, this flooring does not need any special glue to keep it in place. The laminate floor pieces come in planks and are designed to snap together to create your flooring.
Glued Laminate Flooring
Glued laminate flooring is where you’ll need to use a special glue to install the flooring planks. Although this does take a bit more work, this provides a better moisture barrier than glueless flooring. If you have the know-how or can contact a professional, you can trust, this is an excellent method to consider.
Pre-glued Laminate Flooring
These are flooring planks that come with glue already applied to the planks from the factory. All you need to do is peel off the protective covering and install them as you need. This saves you the hassle of having to apply your glue and making a mess everywhere. This is relatively easy to do by yourself.
Hardwood vs. Laminate Wood Flooring
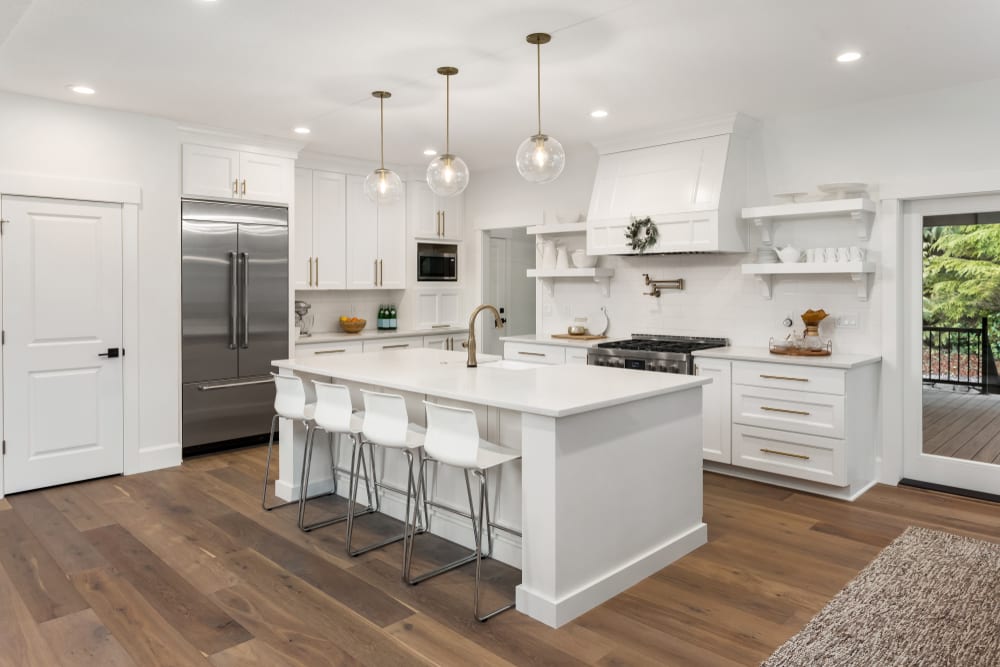
The flooring of a home is one of its defining features. Wood flooring remains one of the most popular options, as it is a naturally inviting, beautiful and timeless material. While older, more traditional homes often have the original hardwood floors still in place, many newer homes are using laminate. It offers a natural look similar to wood but at a lower price.
When deciding between hardwood vs. laminate flooring, there are several pros and cons to consider. Sure, when comparing laminate vs hardwood cost, laminate is usually the more affordable option. But you also must look at durability, resale value, cleaning, installation and more. This article will compare some of the factors between hardwood vs laminate flooring and help you decide which is best for your home
Laminate vs. hardwood cost
The reality of flooring costs and what you can afford may be miles apart. Take into consideration the cost of laminate and hardwood flooring to determine what is best for you.
Hardwood: CONS – Hardwood flooring is made of harvested trees; pricing depends on the type of wood you choose. In general, hardwood is considerably higher to buy and to install.
Laminate: PROS – Laminate wood flooring is made from composite wood pressed together at high temperatures. The image of hardwood is then placed over the composite wood, covering it to form the laminate. Not only are the materials themselves cheaper, but laminate wood installation cost is, on average, 50 percent less than hardwood installation.
Laminate vs. hardwood durability
Assess the traffic load and wear and tear on flooring in your home. A more durable surface is easier to maintain and will look great for years to come.
Hardwood: CONS – Hardwood is susceptible to scratching, can get damaged from excessive moisture and will show wear, especially in heavily trafficked areas. PROS – Hardwood is the real deal; it is gorgeous and, depending on the type of wood, can add considerable value to your home.
Laminate: PROS – Since laminate is made from pressed wood, it is more durable and resists scratches, moisture and wear and tear. Laminate flooring is also easier to clean. CONS – Even though laminate is more durable, it is not as visually appealing. Lower qualities of laminate may have artificial-looking wood grain textures.
How To Clean Floating Timber Floors WITHOUT Damaging Them
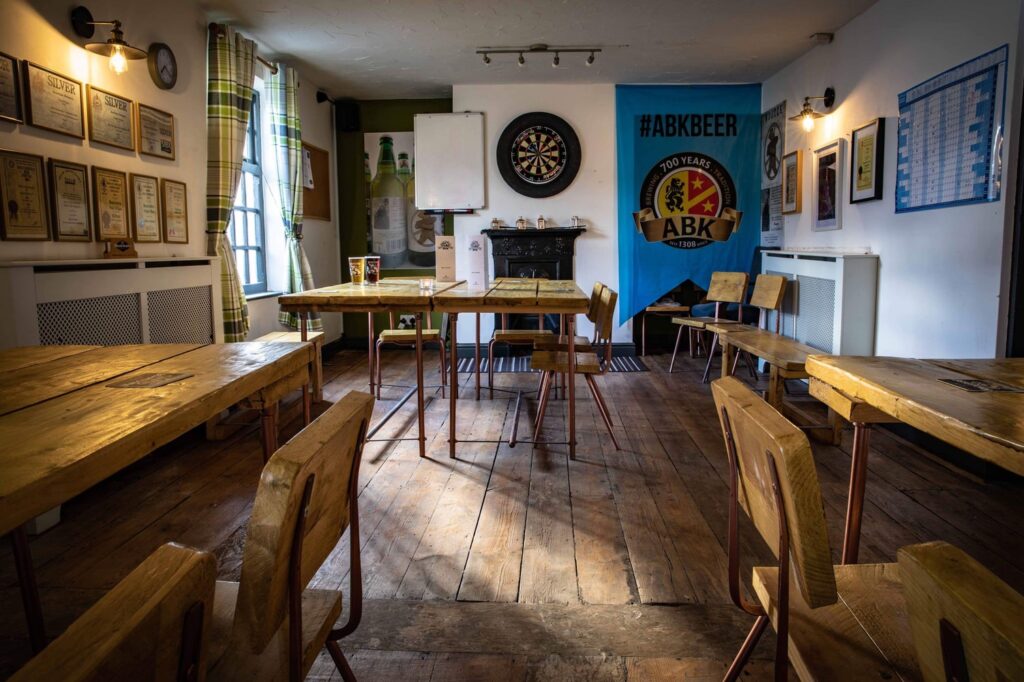
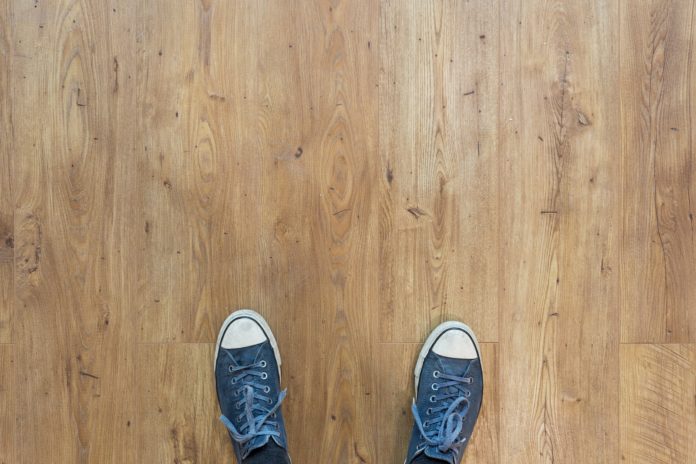
Floating timber floors are a beautiful and an easy to install solution for your home, but it requires taking proper care of it. Regular cleaning and maintenance will make the floor looks good and shiny and will prolong the life of the floor.
What are floating timber floors made of?
Floating timber floor is a floor that does not need to be nailed, or glued to a subfloor. The floorboards are attached to one another and are fitted over an existing floor like concrete, tiles or terracotta. In order to attach the floating floorboards, the subfloor should be hard and perfectly level.
Floating floors are flexible. They accommodate any movement and pressure and spread out evenly to reduce gaps and cracks. When installing there is usually a gap left between the walls and the floating floor to allow expansion of the timber boards. The gap is usually covered with skirting boards or mouldings.
Step by step floating timber floorboards cleaning
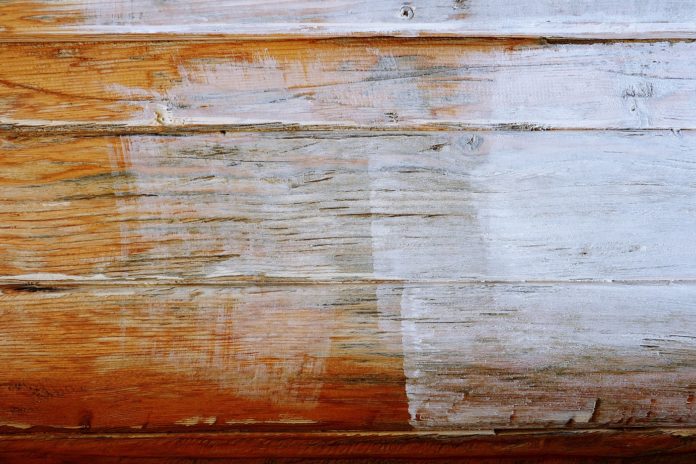
Floating wood floors are protected with a sealant that allows water cleaning and mopping. Despite that, floating floors are usually laid over other subfloor and if you damp the floor often, the liquid may slip into the boards and damage the surface underneath it, causing warping, mould and cracks. That’s why you need to be extra careful when cleaning a floating timber floor.
Here is a step-by-step procedure for cleaning a floating floor:
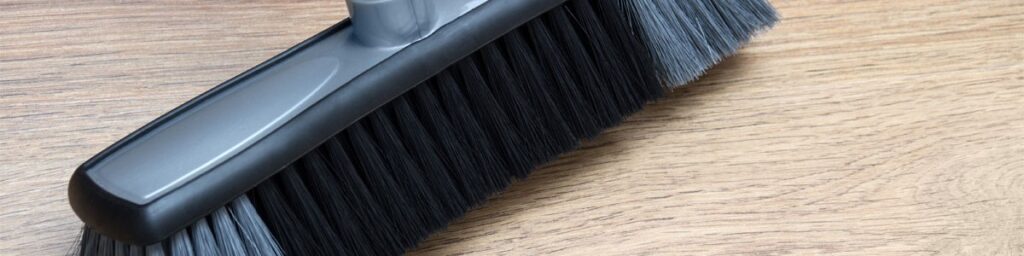
Step 1: Vacuum the floating floor regularly
Vacuum and sweep the floor regularly. Focus on high-traffic areas to prevent dust and dirt from accumulating. You can use a vacuum cleaner with an attachment for hardwood floors. A vacuum cleaner will also help you to remove the dust from the corners of the room. When sweeping use a broom or dust mop with softer fibres to avoid damaging the floor.
Step 2: Spot clean stains from the floating floor
Remove spills from the floor as soon as they happen. Use a dry microfiber cloth to remove liquids.
Spot treat stains with a mild cleanser and a damp cloth as soon as you can. You can use rubbing alcohol for stubborn stains. Avoid scrubbing the area, rather tap the spot with the cloth and remove it gently from the surface. Do not use harsh chemicals that can damage the wooden floor.
Step 3: Mop the floating floor
After treating the stains and removing all the dust from the floor, it’s time for moping. Don’t overflood the floor with water. Use a spongy mop, rather than classic wire wound mop, to avoid spreading water around the floor. Use hot water and a cleaning detergent and wipe up the whole floor.
Step 4: Leave the floating floor to dry
After finishing cleaning open the windows and doors if possible and leave the floor to air dry. Over time, the floor may lose its shiny look mostly in the high-traffic areas in your home. To restore and enhance its shine, use a timber refresher.